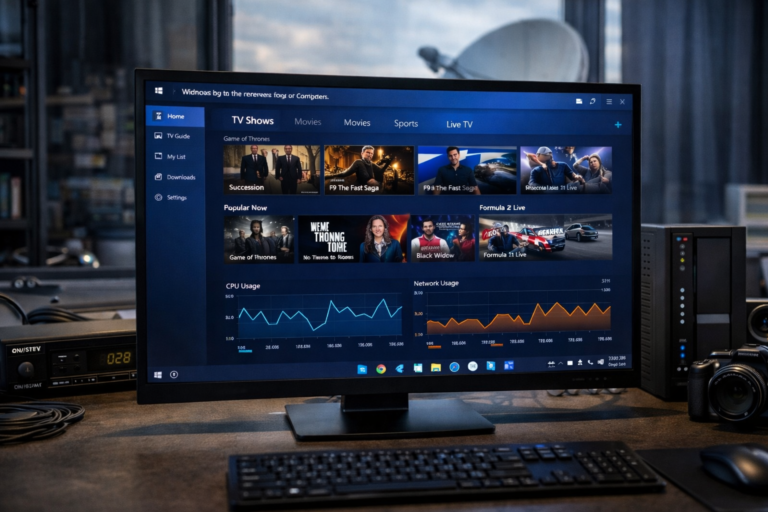
Connecting external card readers to OSCam iCam with OpenATV
Connecting External Card Readers to OSCam iCam with OpenATV [2025 Setup Guide] Hooking up an external card reader to OSCam iCam on OpenATV is a straightforward way to keep your satellite TV experience smooth and reliable. Enthusiasts who want full hardware control know the right setup makes all the difference for signal strength and security. With the right tools, this connection opens the door to true flexibility, letting you manage subscriptions and improve viewing quality from the hardware itself.
This guide walks you through each step, breaking down what you need to know and what to watch out for. Whether you’re aiming for better performance or just want to get more out of your gear, understanding direct hardware integration is key. Let’s get those card readers talking to OSCam iCam the right way.
Understanding OSCam iCam and OpenATV
To build a reliable satellite TV setup, it’s smart to know the heart of your system. OSCam iCam and OpenATV are popular choices for anyone who takes hardware control and channel access seriously. They bring peace of mind and flexibility, shaping a foundation for advanced, hands-on viewing.
What Is OSCam iCam?
OSCam iCam stands for Open Source Conditional Access Module with “iCam” enhancements. It’s a software tool that helps your satellite receiver decrypt TV channels using smart cards and external hardware. People love OSCam for its open-source approach and flexibility, but iCam pushes things even further.
What sets OSCam iCam apart?
- Extra Format Support: It adds support for advanced scrambling methods used by certain broadcasters. This means you can access content that regular OSCam sometimes misses.
- Network Functions: OSCam iCam can talk to both local and networked card readers. You control which card gets used for which channel, right down to the minute.
- Custom Security Features: With more options for pairing and encryption, you control how your card and receiver interact, keeping your data safer.
- Smoother Experience: Switching channels feels faster and more reliable because iCam manages keys and card data with less lag.
If standard OSCam is a reliable pickup truck, OSCam iCam is that same truck with 4WD, a stronger engine, and better navigation. It helps satellite TV fans stay up to date without being locked into one provider or box.
The Benefits of OpenATV
OpenATV is a Linux-based operating system built for set-top boxes. It’s the canvas that lets apps like OSCam iCam shine. OpenATV has become a go-to choice for tinkerers and TV fans who want more than what stock software offers.
Here’s why OpenATV stands out:
- Regular Updates: The OpenATV team keeps the system fresh, closing bugs and adding new features often.
- Huge Plugin Selection: With its built-in plugin browser, you can add recording tools, streaming apps, advanced EPGs (Electronic Program Guides), and just about anything you could want for TV.
- Easy Customization: The graphical menu makes settings simple to adjust, so you can change how things look and work with a few clicks.
- Stable Performance: OpenATV gets the most out of your hardware. Even with multiple plugins running, channel changes feel quick and smooth.
- Wide Hardware Support: It works on many types of boxes, from budget builds to high-end receivers.
Personalize your viewing, update your software with a tap, and use powerful tools like OSCam iCam right inside the system. That’s the real draw of OpenATV: it puts you in control without needing to be a Linux guru.
Together, OSCam iCam and OpenATV create a strong, flexible foundation for advanced home satellite setups. If you want control, compatibility, and peace of mind, you’ll want both working as part of your build.
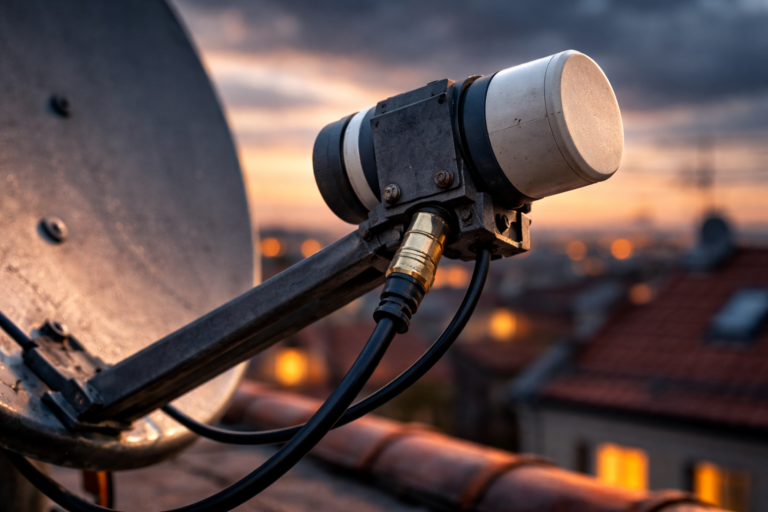
Choosing the Right External Card Reader
Finding a dependable external card reader is the first step to making OSCam iCam and OpenATV work together smoothly. With so many choices out there, it’s easy to get lost in specs, firmware lists, and hearsay. Not every reader pairs nicely with every receiver. A wise pick gives you reliable access and takes the stress out of troubleshooting later on. Let’s talk about the best brands and how to check if your receiver will match before you spend a dime.
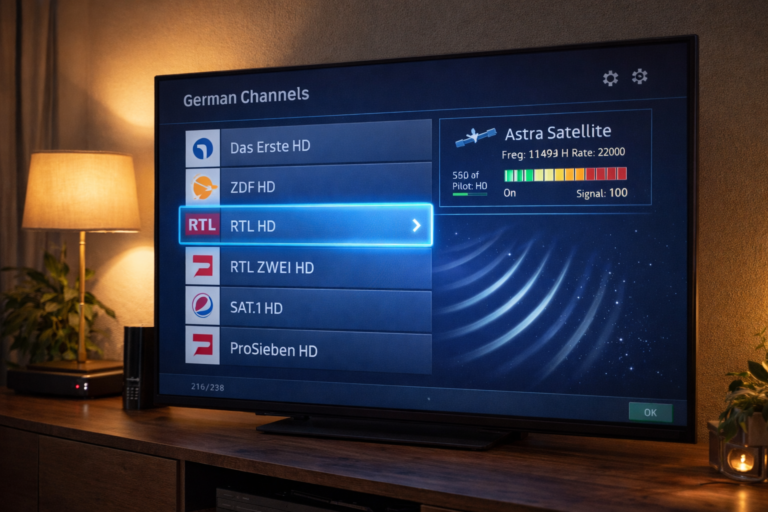
Common Supported External Card Readers
The satellite TV world is full of card reader brands, but some consistently stand out for their plug-and-play experience, solid driver support, and proven reliability. These are the models users reach for when they want less hassle and more uptime.
Here are user favorites you should know:
- Smargo by Argolis
- Famous for “smartmouse” and “phoenix” modes.
- Hot-swappable USB connection.
- Excellent with OSCam iCam and well-supported by OpenATV’s included drivers.
- Widely praised for both new and older satellite cards.
- Omnikey 3121
- Trusted for years in both hobbyist and professional setups.
- Compatible with most card types (ISO 7816).
- Works straight out of the box on OpenATV, with no special driver hunting needed.
- Built to last, with a sturdy design that shrugs off daily use.
- Infinity USB Smart
- Offers both standalone and PC-connected modes.
- Delivers reliable reading speeds, keeping channel zapping snappy.
- Regular firmware updates and plenty of community support.
- SC8in1 and Generic FTDI-based Readers
- Lets you use multiple cards at once.
- Requires extra USB ports but gives advanced users more flexibility.
- Watch for cloner brands—real FTDI chips guarantee better compatibility.
Why do these models win so much trust? They work, and they keep on working even with the latest OpenATV images and OSCam builds. Many brands claim plug-and-play, but the ones above prove it in real-world living rooms, not just in spec sheets.
When picking a reader, stick with well-known brands with clear support from the OSCam and OpenATV communities. If you already have a reader, a quick search in support forums for your model plus “OpenATV” will usually tell you if others have had good results.
Checking Compatibility with Your Receiver
Before you get excited and click “buy now,” take a minute to confirm your receiver and new card reader will play well together. A few minutes now means hours saved later.
You can check compatibility with this easy guide:
- Check Your Receiver’s Specs
- Look in your receiver’s manual or online listing.
- Make sure it has enough powered USB ports and runs OpenATV.
- Search for Confirmed Working Combos
- Visit the OpenATV and OSCam user forums.
- Search for “card reader” and your receiver model.
- Watch for posts where users list working setups with the reader you want.
- Verify OSCam iCam Support
- Confirm that the latest OSCam iCam version works with your brand and model.
- Public OSCam iCam documentation often lists tested card readers and any quirks.
- Check Driver Availability
- See if OpenATV already has the needed drivers for your card reader.
- Most favorites like Smargo and Omnikey work immediately, but less common models may need a manual driver install.
- Look for Firmware Compatibility
- Make sure your reader’s firmware matches what’s recommended for OSCam iCam use.
- Some card readers ship with outdated firmware, so consider updating before connecting.
- Ask the Community (Optional)
- If you’re unsure, a quick question on a friendly forum will get you advice from people using the same gear.
Don’t get stuck playing tech support for your living room. Invest a bit of time matching your card reader to your receiver and software. The right pairing leads to a stable setup where OSCam iCam does what it does best—giving you reliable access, every time you pick up the remote.
Preparing Your OpenATV Device for External Card Readers
Getting your OpenATV device ready for an external card reader is more than flipping a few switches. A clean, current system makes the difference between smooth TV nights and late-night troubleshooting sessions. Before you plug in that reader, setting up OpenATV correctly is a must. This step sets the stage for everything that follows—smooth driver installs, fewer crashes, and the comfort of knowing you can roll things back if something goes wrong.
Updating and Backing Up OpenATV
Start with a checkup. OpenATV releases updates for a reason: to squash bugs, close security gaps, and add features that help your box do more. An up-to-date image often means plug-and-play driver support for many card readers straight out of the box. Outdated software is like last week’s bread—stale and unpredictable.
Why update before adding hardware?
- Better compatibility with new plugins and drivers.
- Stronger security, keeping unknown bugs or exploits at bay.
- Fewer random crashes or freezes when using newer card readers.
Here’s a simple way to update without breaking a sweat:
- Head to your OpenATV menu.
- Navigate to
Setup>Software Manager>Software Update. - Hit start—let the box take care of the rest. Expect a reboot after the update.
But updates sometimes trip things up with your favorite settings or plugins. Always create a backup before you make changes. Think of it as insurance for your channel lists and settings.
To create a safe OpenATV backup:
- Go to
Setup>Software Manager>Backup System Settings. - Choose USB or internal storage as your backup spot.
- Wait for the green light that your backup is complete.
Keep that backup handy on a USB drive or computer. If something unexpected knocks out your setup, you’re just minutes away from getting things back exactly how you like.
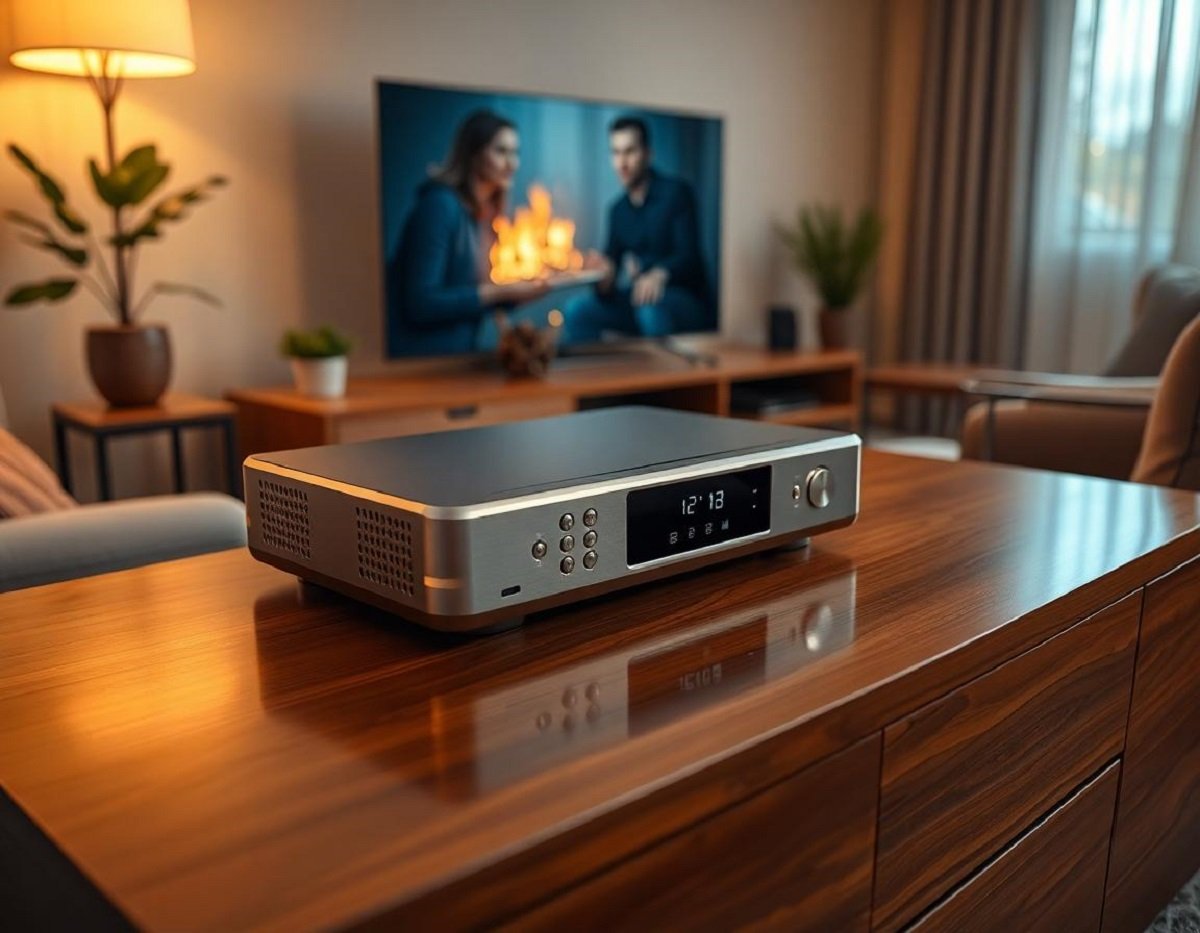
Installing Card Reader Drivers and Plugins
The hardware’s ready, the software is fresh—but your card reader is just a fancy paperweight until OpenATV knows how to talk to it. That’s where drivers and reader plugins come in. Most top card readers work out of the box, but sometimes, a little extra setup gets you the best speed and reliability.
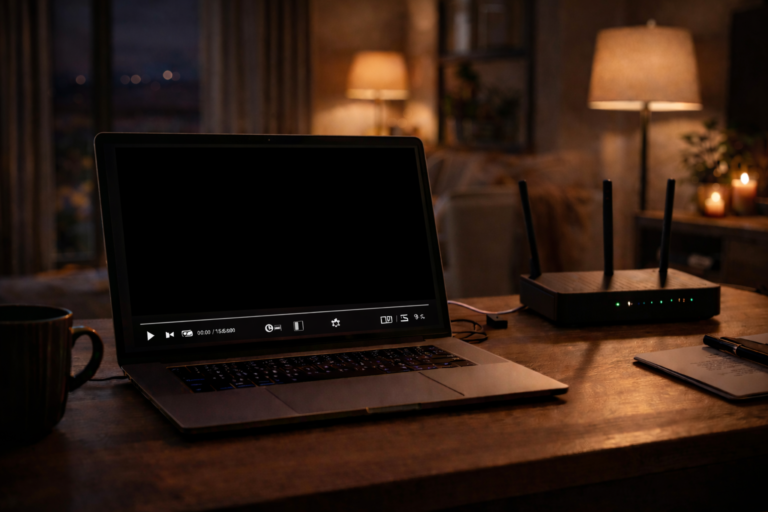
First, plug your card reader into a USB port with enough power. Many OpenATV receivers recognize common chipsets, but if your device is new or less common, installing the right driver is key.
To install or check drivers and plugins:
- Open the plugin browser (
Menu>Plugins). - Tap the green button for “Download plugins.”
- Head to the
DriversorSystem pluginscategory. - Find your card reader’s driver (for example, under USB or “SmartCard Reader Support.”)
- Press OK to install the needed driver.
If your card reader uses special modes (like Smartmouse or Phoenix), check if you can enable these modes in the driver settings. Some plugins also include settings for slot timing or communication speed—perfect for tuning stubborn cards.
After a reboot, use the OpenATV info menu or plugin section to make sure your reader appears on the device list. If it does not, try another USB port or check user forums for your card reader’s specific tips.
Don’t forget: some complex setups may need you to install supporting tools directly from the command line, especially for multi-reader devices. But for most users, the GUI steps above are all you’ll need.
With your system updated and the right drivers installed, you’re all set for the next stage—linking OSCam iCam to your external card reader for real TV power and flexibility.
Configuring OSCam iCam to Use an External Card Reader
Hooking up your external card reader is only half the journey. After that USB plug clicks in, it’s OSCam iCam that takes over, turning your hardware into a live decryption workhorse. The right settings connect the dots between your satellite box, card reader, and the signals coming in from the sky. Here’s how to boost the right config files, the tweaks that matter, and what to do if your first test doesn’t go as planned.
Editing OSCam iCam Config Files: Show which files to boost, which lines to add or edit, and why specifics matter
Before you start flipping channels, OSCam iCam needs clear instructions on how to talk to your card reader. Everything goes through a tight set of config files, usually found in /etc/tuxbox/config/oscam/, or whatever path OpenATV points to.
You’ll most often work with these files:
oscam.confoscam.serveroscam.user- (Less often)
oscam.services,oscam.dvbapi
Focus on oscam.server—this is where you actually define the card reader hardware. Getting these lines correct is the key to avoiding hours of confusion later.
Here’s how to set up your external card reader:
- Open
oscam.serverin your favorite text editor- On the box itself: use an editor like nano or vi.
- From your PC: use an FTP tool to download, edit, and upload the file.
- Add or edit the [reader] section to match your hardware
- Example for a USB reader like Smargo or Omnikey:
[reader]
label           = extreader
enable          = 1
protocol        = smartreader
device          = /dev/ttyUSB0
detect          = cd
mhz             = 357
cardmhz         = 357
group           = 1
emmcache        = 1,3,15
services        =
caid            = xxxx
ident           =
- label is a name for your reader, use something easy.
- protocol should match your reader—most USB types use
smartreader. - device is the system path to your hardware—commonly
/dev/ttyUSB0. Sometimes, your reader lands at/dev/ttyUSB1or higher, especially if you have more devices plugged in. If OSCam can’t find your reader, try unplugging others or rundmesg | grep ttyUSBto see where it’s mapped. - mhz and cardmhz are usually set to 357 (or 600 for some cards). If unsure, start with 357.
- caid matches the type of satellite card you have (i.e., 0500, 0D96, etc).
Other lines can often be left blank unless you have advanced needs.
Why pay attention to details?
- A single typo or wrong device path can prevent OSCam from ever seeing your reader.
- Wrong MHz or protocol can slow down or halt reads entirely.
- Using the right group lets you control which users can access which reader, keeping things tidy if you have a complex setup.
Next, check oscam.conf for these essentials:
- Make sure your
readerdeviceand web interface settings are correct if you plan to manage things via a browser. - For iCam setups, confirm that all required module paths match your OpenATV system.
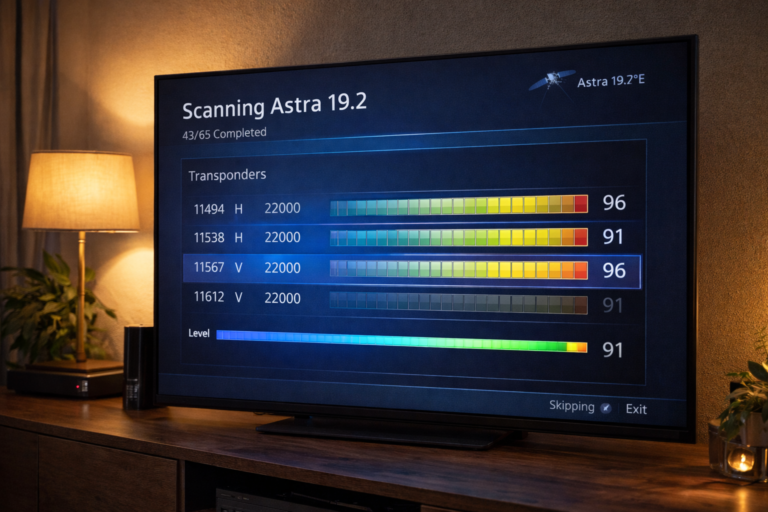
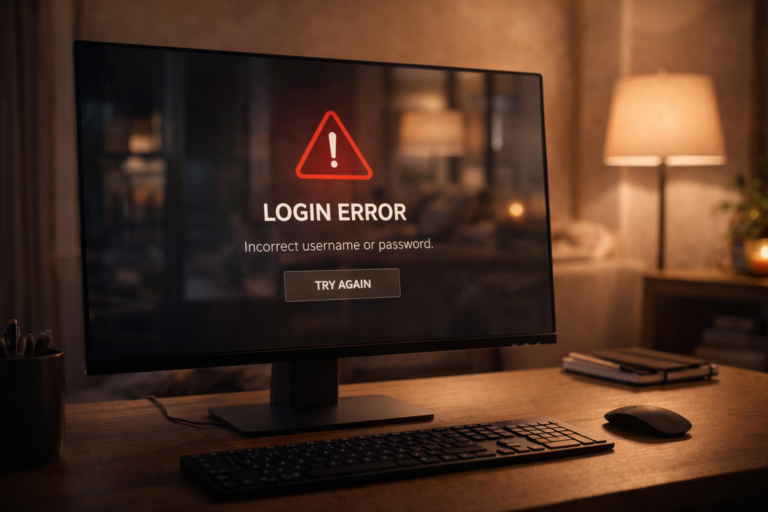
Testing and Troubleshooting Live Decryption: Offer a checklist for confirming setup worked and fixing issues like ‘reader not found’ or failed decryption
Once your files are set, it’s time to cross your fingers and power up. Success here means watching encrypted TV without a hitch. If there’s trouble, don’t panic—troubleshooting is straightforward if you know what to look for.
Here’s a simple checklist to confirm your setup:
- Card reader lights up (if it has an LED) when plugged in.
- Card is firmly seated—sometimes a loose card won’t connect.
- OSCam iCam shows the reader as active.
- Visit the WebIF (usually
http://boxip:8888/). - Under “Readers,” the new reader should appear “active” or “OK.”
- Visit the WebIF (usually
- TV decrypts channels you’re entitled to.
- Try a pay channel your card should unlock.
If all of the above work, your setup is ready for daily use.
If things don’t work, here’s a troubleshooting guide:
- Reader Not Found
- Double-check
device = /dev/ttyUSB0inoscam.server. - Run
dmesg | grep ttyUSBafter plugging the reader to see what device it’s using. - Try a different USB port, especially on hubs with low power.
- Confirm drivers are loaded in OpenATV (see your plugin menu for installed drivers).
- Double-check
- Failed Decryption or “No Entitlement” Messages
- Confirm
caidin your[reader]matches your card type. - Make sure the card is valid—not expired or out of rights.
- Restart OSCam iCam and the box.
- Confirm
- Glitches or Frequent ECM/EMM Errors
- Double-check
mhzandcardmhzsettings. - If you see lots of errors in OSCam logs, try reducing the MHz or cleaning the card contacts.
- Double-check
- Web Interface Not Loading
- Check
httpportinoscam.conf. - Confirm your network settings allow a browser connection to the box.
- Check
- Reader Shows “Inactive” or “ERROR”
- Re-seat the card and reboot.
- Try a different smart card if available (to rule out card failure).
Making small changes and testing after each step works best. Always save backup copies of your config files before editing—restoring is faster than starting from scratch.
Getting your OSCam iCam setup talking smoothly with an external card reader comes down to patience, attention to detail, and using the right tools. Tweak, test, and watch live TV with the confidence that your setup is on solid ground.
Tips for Secure and Efficient Operation
Protecting your hardware and keeping your TV viewing smooth means going beyond setup day. Your satellite card, card reader, and set-top box all thrive on steady routines and safe handling. By making a few basic habits part of your weekly tech routine, you sidestep 95% of the problems that trip up even experienced users.
The tips here keep both your hardware and your encrypted subscription data safe, giving you peace of mind. So, before you lean back and enjoy those clear channels, start building some best practices into your habits.
Best Practices for Ongoing Use: Suggest routines for stable operation, regular checks, and secure handling of hardware and cards
Building a solid routine starts with small steps. Cards and readers can last for years with the right care; ignore one detail, and you’ll chase random glitches that seem to appear without reason. Here are practical tips for getting the most out of your OSCam iCam setup:
Routine Checks and Maintenance
- Restart devices regularly.
Power-cycle your receiver and card reader once a week. Just unplug, wait five seconds, and plug back in. This clears out system memory, keeps connections fresh, and heads off most slowdowns. - Check cable and card reader placement.
Make sure cables and USB connections are snug. If your card reader feels loose in the port, use a short, quality USB extension cable. Stable connections help prevent hiccups and avoid accidental damage. - Clean card contacts gently.
About once a month, remove your smart card and wipe the gold contacts with a soft microfiber cloth. Avoid water or cleaning sprays—simple dry friction works best. - Examine logs for errors.
Visit OSCam’s web interface. Look at logs for “ERROR” or “INACTIVE” alerts in your readers. A quiet log means a healthy setup.
Safe Hardware Handling
Protect your investment by treating your cards and readers like the sensitive tech they are.
- Avoid hot swapping under power.
Always turn off your receiver before removing or inserting your smart card or reader. Hot swapping can corrupt card data or stress electronic contacts. - Handle cards by the edges.
Oils from your fingers can coat contacts and attract dust. Hold your card like a photograph—by the sides, with clean hands. - Keep equipment cool and dust-free.
Place your set-top box and card reader in an open, shaded spot. Overheating can cause signal errors or even shorten device life. Dust everything every few weeks, using compressed air on vents.
Security Habits
A little caution keeps your subscription data private and your box safe from prying eyes.
- Lock your OSCam web interface.
Always set a strong password on OSCam’s web portal. Even if your home network feels safe, it pays to keep curious guests (or kids) out. - Backup config files every time you make changes.
If you tweak OSCam or OpenATV settings, make a backup first. Use your box’s backup tools or manual copies to a USB drive. - Store smart cards safely.
When not in use, keep your card in an anti-static sleeve or wrapped in soft cloth. Avoid placing it near magnets, strong lights, or heat.
A Simple Routine Checklist
Here’s a quick reference for weekly or monthly upkeep:
- Power-cycle receiver and card reader.
- Inspect all cables for looseness or wear.
- Clean card contacts with a dry, lint-free cloth.
- Vacuum or dust around your equipment.
- Review OSCam logs for errors.
- Check your OSCam web interface password.
- Update system and plugin backups.
Just 10 minutes a month on these basics pays off in years of stable, secure TV viewing. Treat your satellite tech well, and it will reward you with smooth, trouble-free operation night after night.
Conclusion
Linking an external card reader to OSCam iCam with OpenATV takes patience and sharp attention, but every careful step pays off. You set up each piece, plug in, tweak settings, and soon the system feels steady—like a machine built just for your home. Watching TV this way is satisfying because you shaped every part, from hardware to final stream.
If you’re reading this with a working setup or if you hit roadblocks, know you’re not alone. Your success story or troubleshooting tip could help someone else, so share your wins or questions in the comments below.
Every project finished adds confidence for the next. Thank you for following along, and enjoy the rewards of a smart and smooth viewing system built with your own hands.