
How to Load iCam OSCam for Meo [Updated Guide for Smooth Setup]
![How to Load iCam OSCam for Meo [Updated Guide for Smooth Setup]](https://www.cccam2.net/wp-content/uploads/2025/07/futuristic-oscam-receiver-home-entertainment.jpg)
Unlock new channels and enjoy extra content on your Meo satellite setup with the power of ICAM and OSCam. ICAM acts as the gateway for modern satellite channel encryption, while OSCam is a trusted softcam that makes secure decryption possible. Together, they open up more viewing options right from your receiver.
Meo users want this combo because it allows smooth, up-to-date access to even the newest encrypted channels. This updated guide keeps things simple, safe, and direct. You’ll follow clear steps that actually work, using the latest methods trusted by satellite hobbyists.
Ready for a fresh experience with your Meo box? This post will walk you through every must-know step—from file downloads and configs to first-time channel scans.
Understanding ICAM and OSCam: The Basics
 Photo by SpaceX
Unlocking encrypted channels and making the most of your Meo receiver means understanding two essential tools: ICAM and OSCam. These tools work together like a lock and key, giving you wide access to channels that are otherwise scrambled. Getting to know how they work isn’t just smart, it’s the best way to enjoy hassle-free and updated satellite TV access.
What Is ICAM?
ICAM stands for Integrated Conditional Access Module. Think of it as the digital bouncer standing at the door of every encrypted channel on your satellite box. Its main job is to check if you have the right credentials, and if you do, it lets you in.
- Acts as a virtual smart card: Instead of using the original card from your provider, ICAM simulates the behavior and tells your receiver what channels you can watch.
- Works with modern encryption: Many European broadcasters use ICAM encryption to lock their best channels, especially HD and premium options.
- Flexible and future-ready: ICAM adapts quickly as broadcasters release new updates, so it keeps working even as channel security tightens.
What Is OSCam?
Short for Open Source Conditional Access Module, OSCam is a piece of software you install on your satellite box or server. Imagine OSCam as the brains behind your satellite setup—without it, the ICAM can’t do its magic.
- Decodes encrypted signals: OSCam reads the encrypted TV signals and uses the information from ICAM to unlock them.
- Highly configurable: You can use OSCam with all sorts of encryption standards, including those from Sky, Canal+, and more.
- Regularly updated: It’s open-source, so hobbyists continually improve it to handle new decryption challenges.
What Is Meo?
Meo is a popular TV and internet provider in Portugal, well-known for its satellite TV service. Their receivers use industry-leading encryption, which means viewers need powerful tools like ICAM and OSCam to keep watching new channels as encryption changes.
- Mainstream in Portugal: Meo is often the go-to choice for satellite TV, making guides on ICAM and OSCam setup especially popular among its users.
- Frequent updates: Meo’s channel list and security frequently change, which pushes users to seek up-to-date methods to keep their access smooth.
Why Combine ICAM and OSCam?
The combo of ICAM and OSCam opens up many benefits for TV fans:
- Access to premium and HD channels that are otherwise blocked.
- Keeps your receiver up-to-date with fewer manual changes, even as providers upgrade security.
- Cost-effective: Instead of buying new hardware with every update, you can refresh your setup via software.
Is It Legal and Safe?
Many users ask about the safety and legality of using ICAM and OSCam:
- Legal for learning: Using these tools with your own smart card and subscription is legal for learning and personal use in most countries.
- Illegal to share: Sharing decrypted content with others or using pirated server subscriptions is illegal.
- Safe if you use trusted files: Always use updated, official OSCam builds and files from reputable sources to avoid malware.
Improved Features in New Versions
Recent updates to ICAM and OSCam focus on:
- Better stability for long channel lists and HD feeds.
- Quicker key updates to keep up with encryption changes.
- Streamlined setup with easier configuration files.
- Web-based controls for a modern, user-friendly experience.
Understanding these basics takes away the guesswork and lets you move confidently to the next setup steps. With the right approach, you get more channels, better reliability, and a smoother experience every time you turn on your Meo receiver.
Preparing Your Receiver and Environment
Getting your Meo receiver and home network ready is the backbone of a trouble-free ICAM OSCam setup. The tightest security, the fastest updates, and the best experience all begin with a few thoughtful prep steps. Let’s make sure your hardware, files, and connections are safe, smooth, and totally ready to go.
 Photo by Branimir Klaric
Before you touch a single file, run through this quick preparation checklist:
- Confirm you have a compatible receiver (Enigma2, Vu+, Dreambox, Zgemma or similar).
- Connect your receiver to the internet via Ethernet or strong Wi-Fi.
- Back up your receiver’s settings and channel lists.
- Make sure you know how to access your box using SSH or Telnet.
- Use a stable computer with WinSCP or PuTTY installed (for Windows users).
Tip: A little prep goes a long way. Skipping safety steps like backups or file verification could leave you with more headaches than entertainment.
Downloading the Latest iCam OSCam Binary
To get started, you need a genuine, up-to-date OSCam iCam binary tailored to your receiver’s architecture. Picking the right file—and source—means fewer bugs and total peace of mind.
Where to Download Securely
- The most trusted sources are established forums and direct download pages like:
- cardsharing.co downloads (for the latest ARM/MIPS bins)
- MySatBox.tv (for Enigma2, MIPS & ARM builds)
- Dedicated Enigma2 community forums like LinuxSat-Support and Digital Eliteboard
How to Avoid Fake or Corrupt Files
- Check the source: Only download from official forums, not random file-sharing sites.
- Look for user feedback: Forums typically mention any issues with bad files.
- Verify the filename and size: Trusted sources label ARM, MIPS, and build date/version clearly.
- Scan for malware: Always run a scan on new downloads before copying to your receiver.
Version and Architecture Tips
- Download the version specific to your hardware:
- MIPS: Most older Enigma2 receivers (Vu+ Solo, original Dreambox).
- ARM: Newer 4K boxes (Vu+ Zero 4K, Ultimo 4K, Zgemma 4K).
- Newer builds (e.g., v9) bring:
- Increased speed for channel changes.
- Better support for large HD channel lists.
- Improved compatibility with modern firmware images.
Quick Demo: File Pick Checklist
- Visit the trusted forum download thread.
- Read comments for any “safe” or “working” confirmations.
- Download only the binary or installation package marked for your architecture (ARM or MIPS).
- Extract the
.zipfile on your PC before moving it to your box.
Accessing Your Receiver
File transfers and installation happen over your home network by connecting directly to your receiver’s control system. This sounds technical but it’s straightforward.
Setting Up SSH or Telnet Access
- Your receiver must be on the same local network as your computer.
- Know your box’s IP address:
- Check your receiver’s network settings menu or your router’s device list.
- Most receivers default to these credentials:
- Username:
root - Password:
dreamboxor blank (change this later for security).
- Username:
Connecting from Windows or Mac
Windows Users:
- WinSCP: Drag and drop files to your receiver via an easy interface.
- PuTTY: Run command-line operations (like setting permissions) safely.
Mac Users:
- Use the built-in
Terminalapp with SSH commands. - Format:
ssh root@your_receiver_ip
Sample Steps to Connect Safely
- Open WinSCP, enter your receiver’s IP, use
rootas the username. - Leave the password blank for older builds, else enter the one you set.
- Navigate to
/usr/bin/or/usr/softcams/(the classic OSCam locations). - Drag and drop the new OSCam binary here.
- Use PuTTY or Terminal to run
chmod 755 oscam-icam(sets correct permissions). - Reboot your receiver for the update to register.
Security and Safety
- SSH vs. Telnet: Always prefer SSH, it encrypts your login details and keeps snoops out.
- Change default passwords: Never leave your box with its default login active. Set a unique password right away.
- Network safety: Don’t port-forward SSH/Telnet access, and use your home network only—not the public internet.
Risks and How to Stay Safe
Working in the guts of your receiver isn’t risk-free, but you can avoid trouble:
- Take five minutes to backup your settings and bouquets first. If something goes wrong, restore in minutes.
- Stick to official files—pirated or tampered OSCam builds could brick your receiver or expose your network.
- Handle configuration edits with care. Typos could cause boot fails or missing channels.
Now your hardware and environment stand ready. Your files are clean, your backup is safe in the wings, and your tools are loaded for the smoothest OSCam iCam experience Meo can offer.
Installation and Proper Configuration Steps
Getting OSCam iCam up and running for Meo can be smooth and even fun—once you know the right moves. Whether you like the speed of scripts or the manual touch, this breakdown has you covered. Read carefully to avoid common mistakes and save yourself hours of frustration.
Running the Installation Script or Manual Steps
 Photo by panumas nikhomkhai
There are two ways to load OSCam iCam—one is almost automatic, the other puts you in full control.
Beginners: Auto Installation Script
If you want the fastest install, an auto script is ready for most images (OpenATV, OpenPLi, VTI, etc.). This script will fetch the right binary, set permissions, and drop starter channel lists.
- Open an SSH terminal (like PuTTY or Terminal app) on your PC/Mac.
- Run the provided command (from a trusted forum) in your receiver’s shell. It usually looks something like:
wget -O - https://cccam.eu/icaminstall.sh | bashThis command downloads and runs the script in one go.
What the script does for you:
- Detects your hardware (MIPS, ARM, AARCH64)
- Downloads the correct OSCam iCam binary
- Installs it to
/usr/bin/or/usr/softcams/ - Sets proper permissions (
chmod 755) - Adds basic bouquets and keys for Meo if available
Experienced Users: Manual Steps
Prefer hands-on? Here’s how to do it yourself and fix problems if the script fails.
- Copy or Move Binaries
- Use FTP (WinSCP/FileZilla) to send the OSCam iCam binary to
/usr/bin/(or another expected folder).
- Use FTP (WinSCP/FileZilla) to send the OSCam iCam binary to
- Set Permissions
- Open an SSH terminal and run:
chmod 755 /usr/bin/oscam-icam - This makes the file executable.
- Open an SSH terminal and run:
- Create a Symlink (if needed)
- Some images expect the binary to be named
oscamonly. To cover all cases:ln -sf /usr/bin/oscam-icam /usr/bin/oscam
- Some images expect the binary to be named
- Check for Missing Libraries
- If OSCam doesn’t start, you may need to link
libcrypto.so. Example:ln -s /usr/lib/libcrypto.so.1.0.2 /usr/lib/libcrypto.so.0.9.8
- If OSCam doesn’t start, you may need to link
Only do this step if you see errors when starting OSCam. 5. Restart OSCam / Receiver
- Reboot or use your receiver menu to start the new softcam.
This extra effort lets you see exactly what’s changing and makes troubleshooting much easier later.
Configuring Key Files: oscam.conf, oscam.server, and oscam.user
Once OSCam iCam is live, it needs to know how to connect, which channels to decrypt, and who gets access.
The Three Essential Files
oscam.conf: Main configuration (ports, protocols, stream relay).oscam.server: Where your subscription and server login details go.oscam.user: Defines users and access control for your box or network.
All three usually live in /etc/tuxbox/config/ or /etc/oscam/.
Editing for Meo and iCam
Open these files with safe, plain-text editors (WinSCP internal editor, Notepad++). Avoid Windows Notepad; it can cause formatting problems!
Must-Have Changes:
- In
oscam.conf, add or check the[streamrelay]section:[streamrelay] stream_ecm_delay = 0 stream_relay_ctab = 098DThis enables iCam support. - In
oscam.server, paste or update your Meo subscription—these are your real login details from your provider or server. - Double-check CAID values match the Meo system; wrong CAID means channels won’t clear.
- In
oscam.user, make sure users have permissions for stream relay and local network access.
Tips for Editors:
- Keep regular backups. A single misplaced character can break everything.
- If you use DreamboxEdit or similar tools, always save and upload carefully.
For Old OSCam/iCam Versions:
- Disable “Include ECM in http streams” and enable “Descramble sending http streams” on the receiver softcam menu, if those options exist.
Importing Subscription Data and Channel Lists
The final step is unlocking channels—and that means getting Meo keys, NUIDs, and bouquets in the right place.
Copying Meo Keys and NUIDs
- Find the official key files and NUID lines for your subscription (often provided by your server or via secure forums).
- Upload these to
/etc/tuxbox/config/or directly into OSCam’s web interface.
Importing Bouquets and Channel Lists
- Download Meo bouquet files (often called
userbouquet.meo.*.tv) and place them in/etc/enigma2/. - Use DreamboxEdit or E-Channelizer to quickly manage and upload big channel lists.
Best Practices:
- Import bouquets before your first reboot so channels appear correctly.
- If updating, delete old bouquets to avoid duplicate or dead entries.
Recommended Final Step: Reboot
Don’t skip this! Restart your receiver after all uploads and edits are done. Many settings only take effect after a cold boot, and it’s the quickest way to catch any missed steps.
You’re now ready to enjoy Meo channels through iCam and OSCam, with a setup built for stability and fast updates—tailored just for you.
Testing, Troubleshooting, and Optimizing Your Setup
Once your OSCam iCam install is in place, the real fun begins—turning it on, spotting those green lights, and making sure every last HD channel on Meo clears on the first click. It’s time to stress-test your build, root out errors, and get the most out of every setting. This part is as important as the setup itself, because a reliable OSCam means no interruptions and no missed matches or series finales.
Web Interface Monitoring and Softcam Management
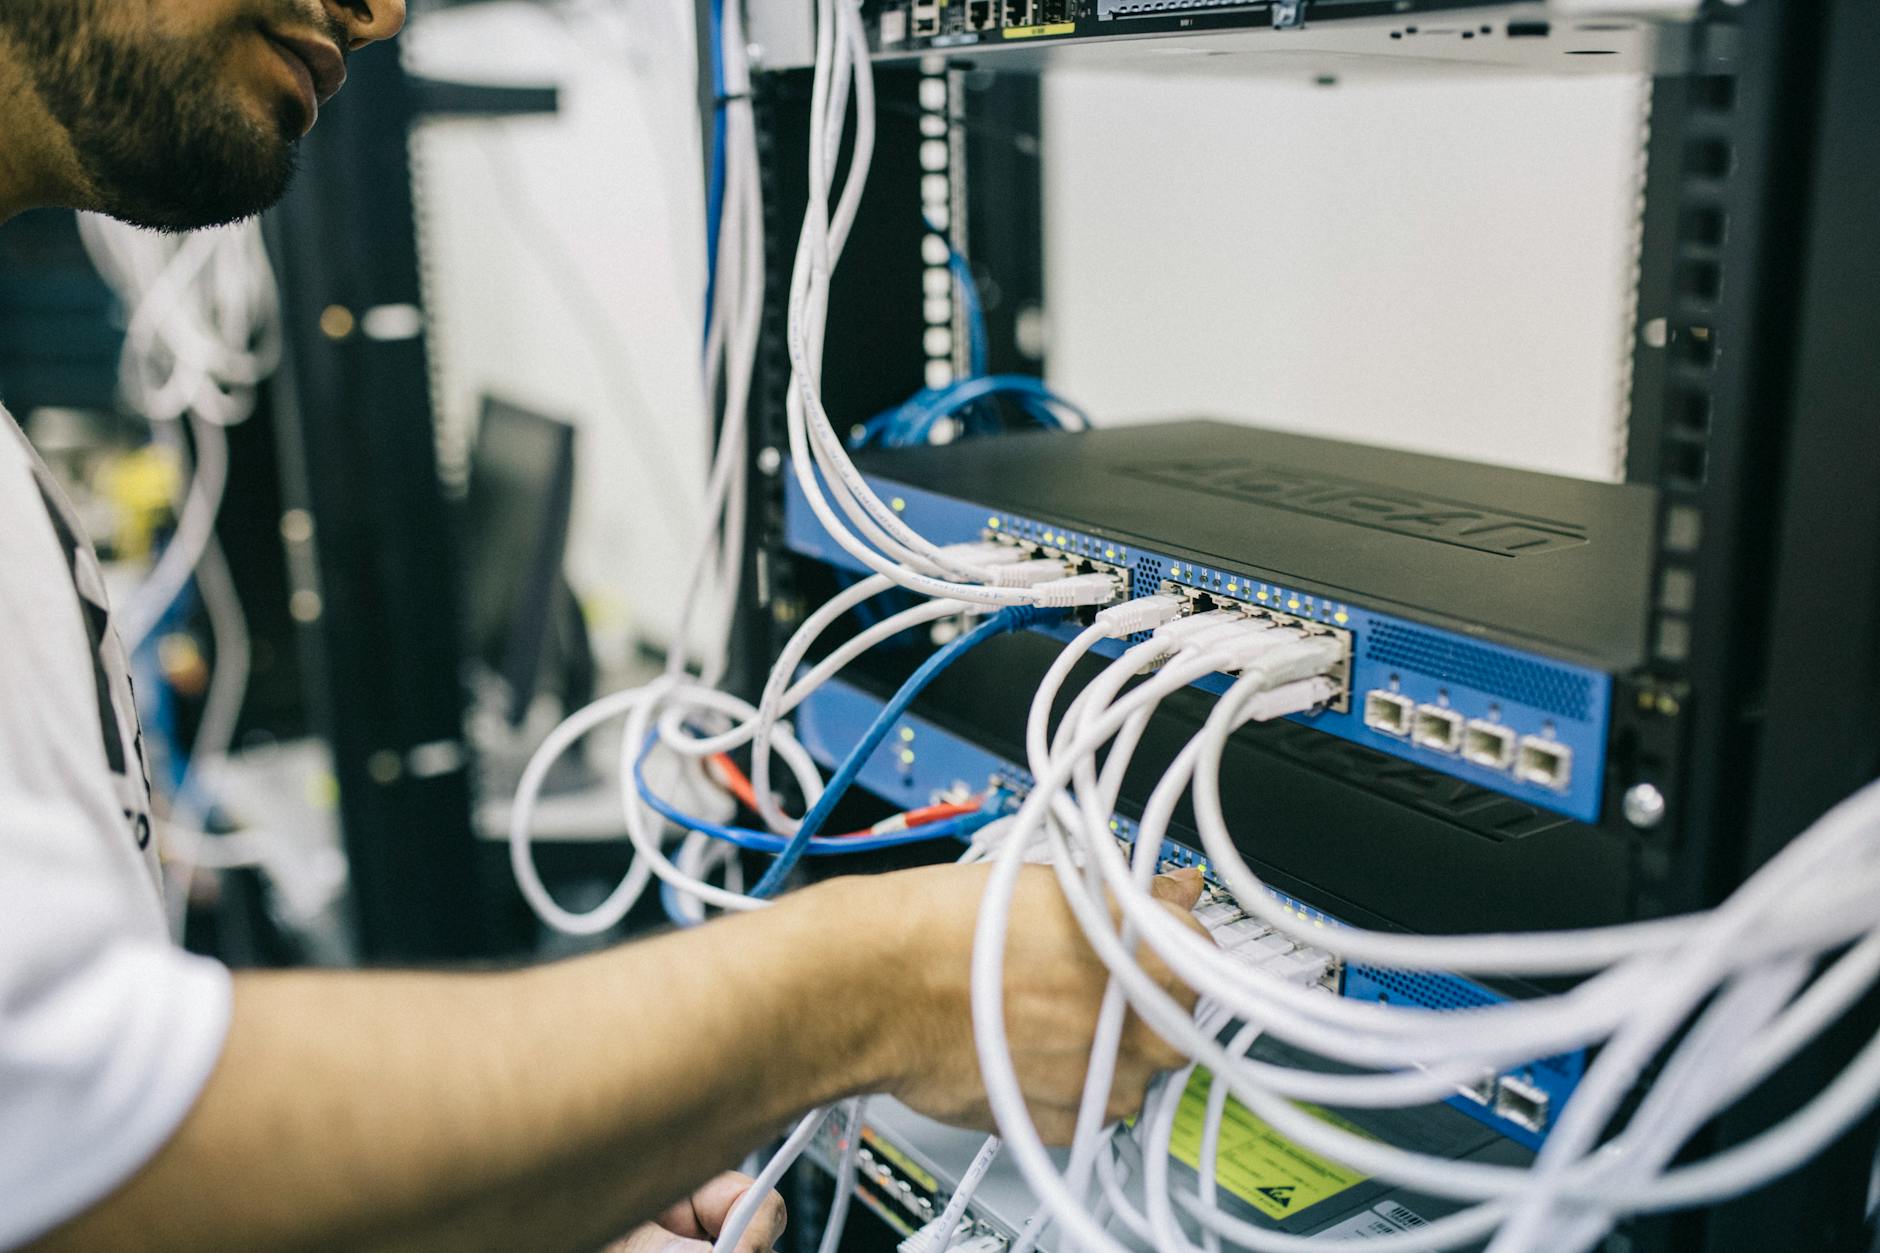 Photo by Field Engineer
The OSCam web interface, often called WebIf, is your control tower. By default, you’ll reach it at http://[your_receiver_ip]:8888 (swap in the actual IP for your receiver).
How to Access and Read the Web Interface:
- Open a web browser on any device connected to your home network.
- Enter the address in the format above.
- You should see the OSCam dashboard. If you don’t, double-check your
oscam.conf:- Make sure
[webif]is enabled,httpportis set (commonly 8888, but sometimes 8081/8083), andhttpallowedincludes your IP range (like127.0.0.1,192.168.1.0-192.168.1.255).
- Make sure
What to Look For:
- Green light next to “status” or clients: Means active and decoding.
- Channel info: Watch for ECM (Entitlement Control Message) and EMM (Entitlement Management Message) lines updating. These should refresh every few seconds when a channel is running.
- Reader section: Shows if your card or server is recognized. Watch for error counts staying low.
- Log files: Click the ‘LOG’ tab in WebIf. It’s the best place to find real-time errors, kick off debugging, or check for messages like “wrong key” or “device not found.”
Softcam Control and Restart:
- You can stop and start OSCam directly from your receiver’s “Softcam Panel” (often found under Blue or CAM button on Enigma2 images).
- In a pinch, you can also hit ‘Restart’ from inside WebIf to apply new configs without rebooting the whole device.
Regular Status Checks: Building a habit of logging in weekly helps catch expired keys or server disconnects before they cause a viewing blackout. Treat it like checking oil in your car—regular, quick, and preventative.
Fixing Common Errors and Fine-Tuning
Even a polished setup can develop hiccups. Here’s a hands-on checklist to squash the most common OSCam headaches and polish your system for best results.
Checklist for Troubleshooting:
- Failed Connections
- Re-check your
oscam.serverfor typos or outdated hostnames. - Verify your server or card provider is up—take a peek at their status page or forum.
- Make sure firewall or home router isn’t blocking OSCam’s outgoing ports.
- Re-check your
- Permissions Errors
- Files like the OSCam binary need
chmod 755orchmod +x(makes them runnable). - Use your FTP tool’s properties pane or run the command from Terminal/SSH.
- Files like the OSCam binary need
- ECM/EMM Mismatches
- If channels freeze or randomly go dark, ECMS (requests) or EMMS (rights updates) may be mismatched.
- Double-check your
oscam.conffor the right CAIDs assigned (Meo typically uses1802, but this can change). - Monitor WebIf logs for strings like “no matching reader” (means you need to correct CAID or PROVID).
- CAID/Provider Mapping Problems
- Many new channels or HD feeds update their CAID frequently.
- Always watch the forums where Meo users post the latest provider and CAID lines.
- Add new entries or map changes into your
oscam.servicesandoscam.serverfiles.
Back Up and Restore Like a Pro
- Before every change, back up
/etc/tuxbox/config/,/etc/oscam/and/usr/bin/oscam*files. - If things break, just upload your last known-good files and restart the softcam. No harm done!
Stay Up-to-Date With OSCam/ICAM Advances
- OSCam is updated often—as often as weekly during active release periods.
- Check main sources (like Streamboard OSCam GitLab) for changelogs so you catch fixes for newer encryption or services.
- Update binaries when new features arrive, but always test on a backup image if possible.
Fine-Tuning for Smooth Operation: Many seasoned users share tweaks on community forums:
- Bump up timeouts in
oscam.confif you see “Reader timeout” or “not found” errors. For example:clienttimeout = 15000. - Monitor Card Reader speeds if using real cards; some work better at 3.57 MHz rather than default clock.
- Keep channel lists clean. Remove dead or duplicate bouquets regularly.
- Use the “Watchdog” script feature (if available) to auto-restart the softcam if it ever locks up.
Live Viewing Test
- After each tweak or fix, flip to one or two “problem” channels and verify instant decryption.
- Watch for smooth channel zaps (snap changes), no buffering, and stable ECM times (shown in ms).
When in Doubt, Ask the Crowd
- Don’t hesitate to peek at active threads on Linux Sat Support or World-of-Satellite forums. These communities spot new fixes and bugs ahead of official releases.
Getting all green lights and steady logs isn’t just about the software—it’s about your peace of mind. With regular monitoring, sharp troubleshooting, and small tweaks, your Meo iCam OSCam setup will feel bulletproof every night of the week.
Conclusion
Setting up iCam OSCam for Meo gives you the power to unlock more channels and enjoy stable, up-to-date viewing right from your receiver. You’ve seen the key steps: prepping your box, loading the right files, running the install, and fine-tuning those vital config files for clean channel access. These actions build a rock-solid foundation that keeps your Meo system responsive and your favorite channels just a click away.
The real joy comes from the freedom to experiment and customize without fear. By sticking to trusted files, keeping regular backups, and learning from active communities, you make sure your system stays sharp and secure. This is how Meo users keep pace with the latest channel changes and new updates—together, trading tips and supporting each other as new features drop.
Stay curious, share your results, and watch for updates from the satellite community. Every new channel and smooth channel change is proof of your hard work. Thanks for following this guide—drop your own tips or questions below and keep the spirit of easy-access, community-driven satellite TV alive!